

Diamond Bracelet
This bracelet is in the form of a moebius strip — the inside surface rolls on edge and becomes the outside surface and visa versa.
In this case, the "strip" of gold is 5 mm. thick which, in the final piece, allows a row of diamonds to be set directly into its edge.
There is something almost mathematically pleasing about the moebius shape, perhaps due to its infinitely flowing surface. It also reminds me of some of M. C. Escher's optical illusion art.
This bracelet is hinged and precisely opens and closes with a box-catch.
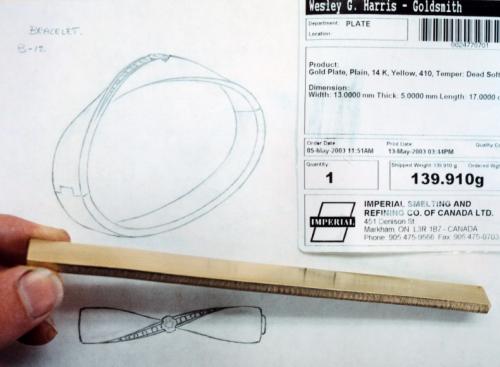
The 5 mm. thick rectangular strip of 14 k. yellow gold.
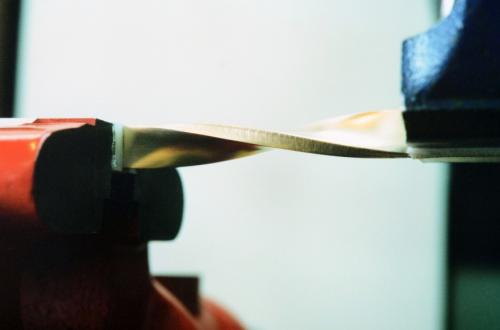
The "strip" is twisted like a propeller while the ends are held in two heavy vises.
The propeller is forced to bend against the direction of its own edge thickness while being squeezed between shaped steel tools in the vise.
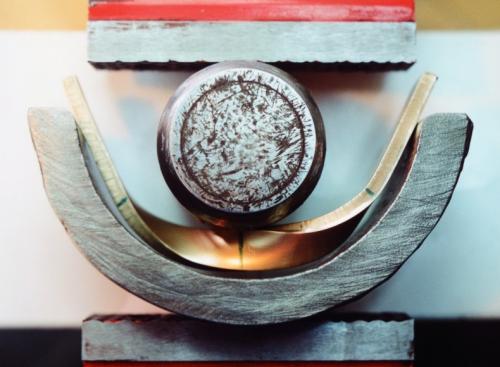
The ends of the propeller shape are being bent around toward one another.
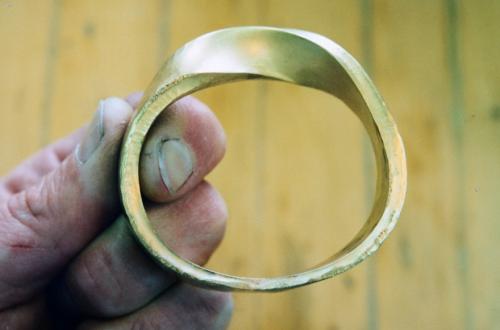
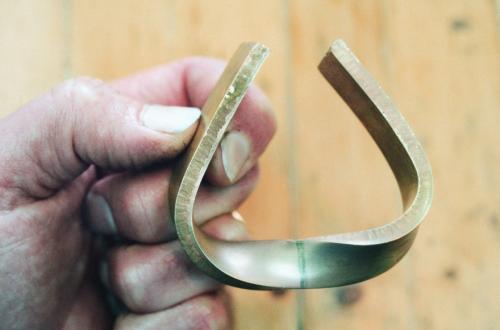
The ends are soldered together with a small rectangular piece of gold layered into the join for strength.
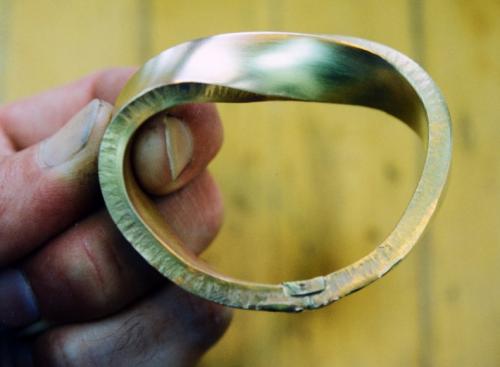
The bracelet is stretched and smithed along a tapered steel mandrel (oval in cross-section) to achieve its final accurate shape. Repeated hammering and annealing is involved.
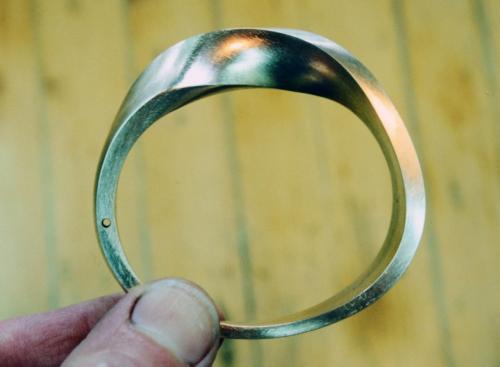
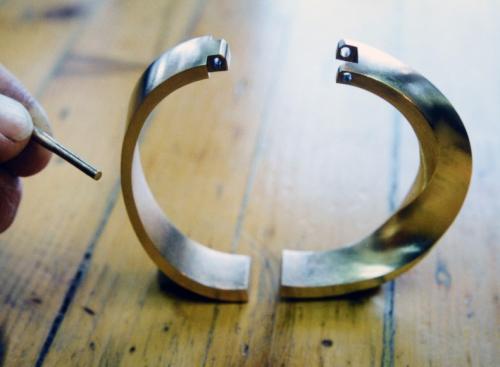
The area of the join has been reduced to nearly half of its original thickness. All surfaces are filed true. The width is drilled through in the place that will become the hinge.
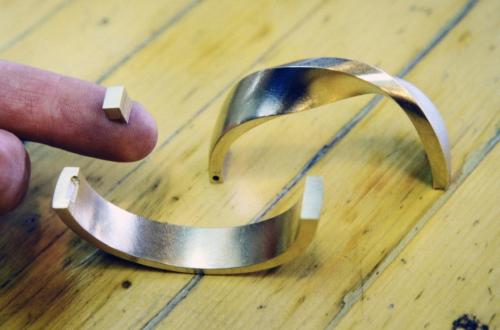
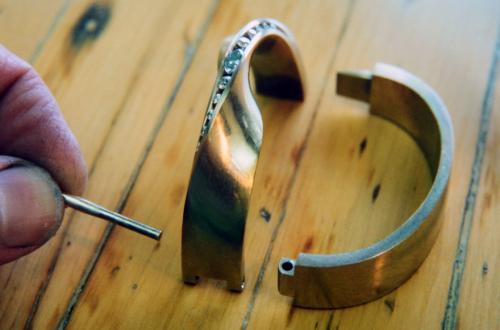
The bracelet is cut exactly in half at the places that will become its hinge and catch. A rectangular block of gold (on my finger) is shown prior to being soldered into one end as part of the hinge.
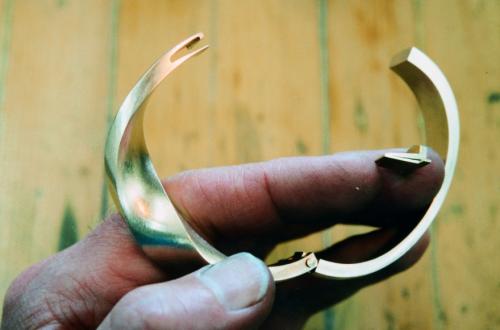
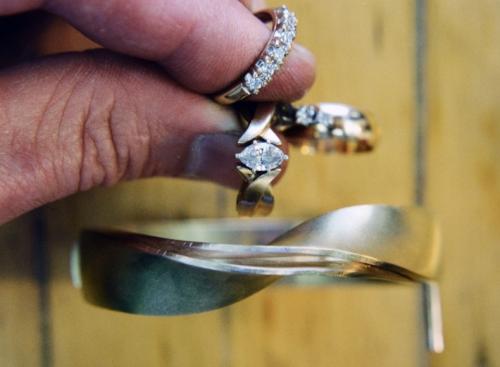
The hinge areas are precisely built to fit in alignment. I am holding the gold hinge pin which snugly fits through the drilled holes.
The hinge is shown temporarily assembled while the box catch is being created. The spring for the catch (shown on my finger) will be soldered to the end at the right. Inside the left end, a space is precisely cut out to receive the spring. This stage is the most critical — the "locking" step in the spring must line up perfectly with its corresponding shape in the cut out area.
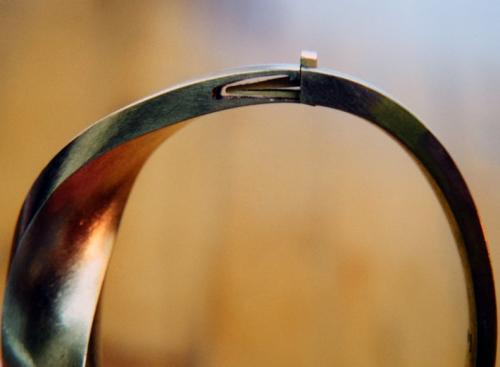
The spring has been soldered precisely in place and its step "locks" perfectly within the cut out area. There is also room for the spring to be pressed to release the catch. With a temporary wedge-shaped support placed within the spring, its very end is lightly hammered to harden it enough to give it spring tension. Once it is certain that the spring functions properly, walls are fit into both sides of the cut out area to complete the box catch.
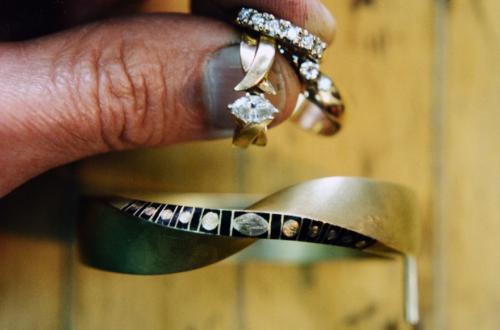
Eleven diamonds are shown in old rings. The edge of the bracelet is marked showing where these stones and the spaces between them are to be.
A groove is carved to receive the row of diamonds (the spacing marks are still visibly scratched in along the remaining edges).
The diamonds are set, and the metal surfaces along the stones are cleaned up. The bracelet is ready for the hinge pin to be riveted in place.
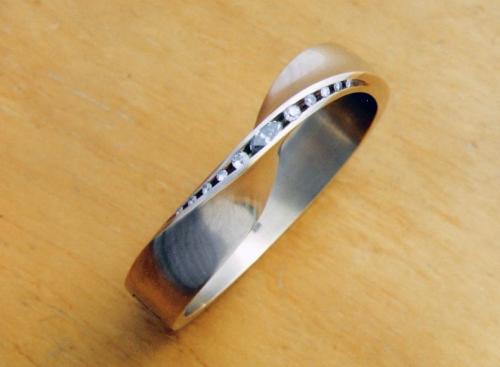
The finished bracelet. The ends of the hinge rivets are filed flush to the surface, and the entire piece is given a bright satin finish.