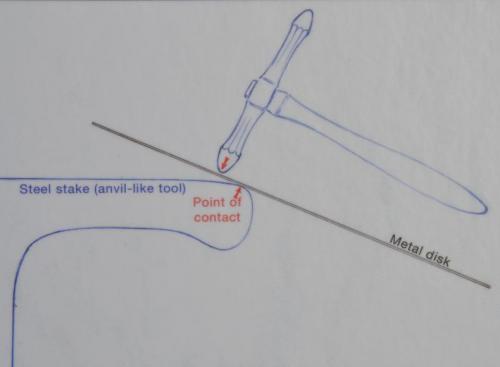
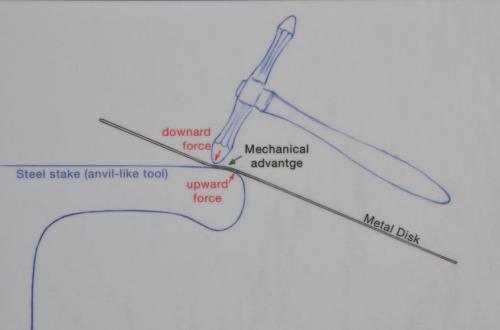
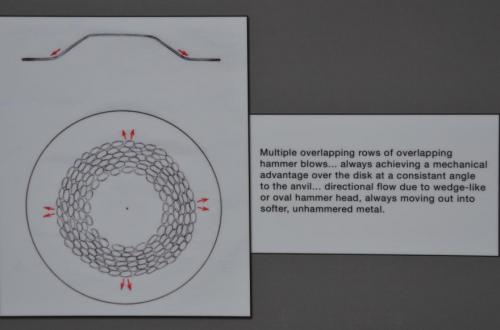
This diagram shows the relationship between the point of contact (of the metal disk against the steel stake) and the hammer blow just above that point of contact in order to achieve a mechanical advantage over the disk.
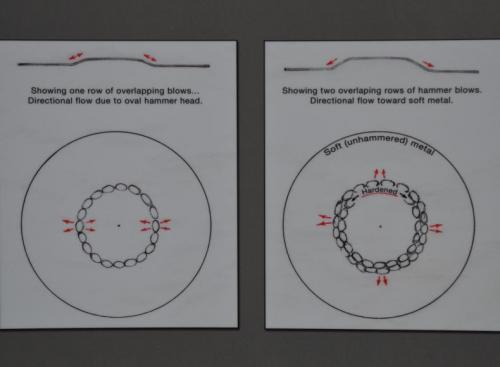
This diagram shows the result of one hammer blow. The metal disk is bent down and pitched between the steel surfaces of hammer and steel stake (anvil).
Metals such as gold, silver, copper and its alloys are malleable. The red arrows in these diagrams show the directional flow of the metal as a plastic solid.
In this diagram the red arrows show continued directional flow.
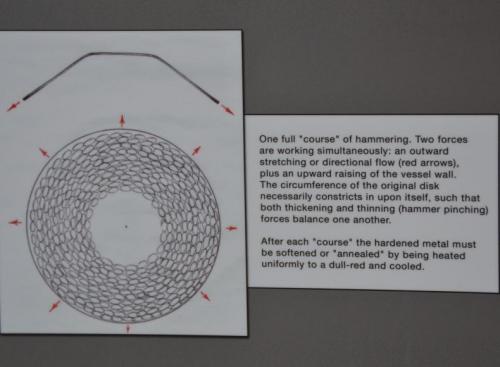
Here the red arrows show the effect of raising. Literally, the diameter along the surface of the original disk increases as its circumference is reduced.
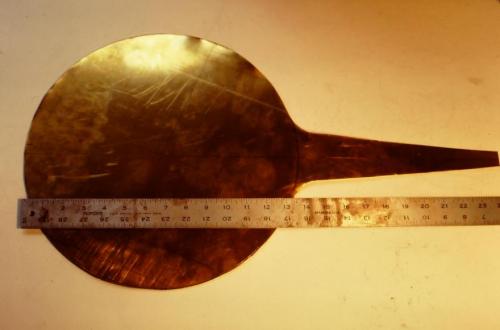
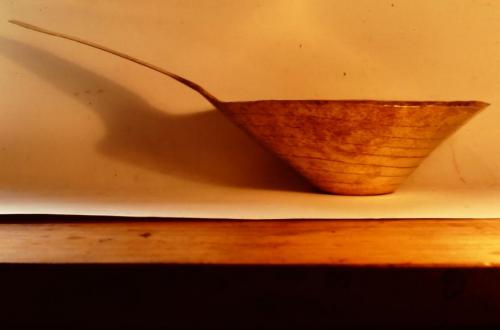
The red brass disc with its handle cut from a single 14 guage sheet (1/16" or 1.75 mm. thick). The diameter of the circle is 14", and the overall length including the handle is 24".
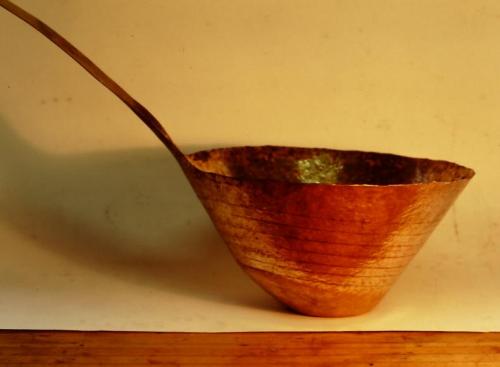
After approximately 5 full courses of raising.
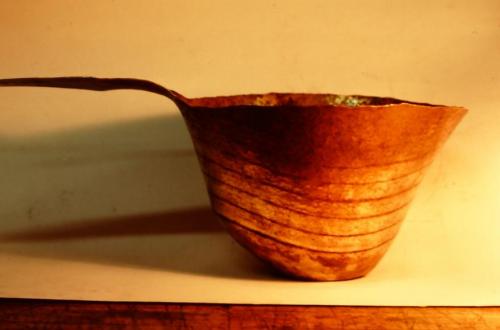
After about 18 courses, the un-hammered lower area of the pitcher (not shiny) is reaching its finished shape.
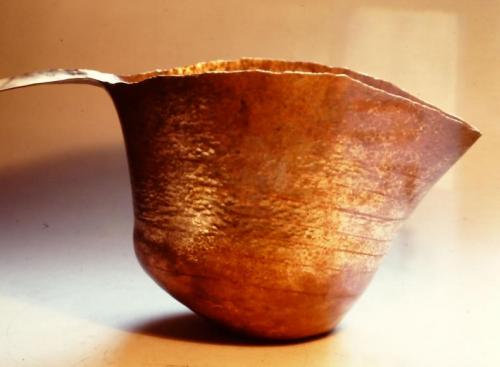
About 22 courses. While smithing the area under the handle, the angle of the metal to the steel stake is increased. The angle of raising under the spout area is slightly decreased. This results in an asymmetrical shape.
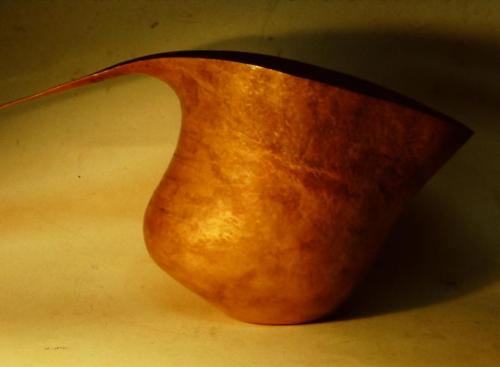
After about 25 courses, the contour under the handle is just beginning to come in.
Now all the work is being done in the area under the handle.
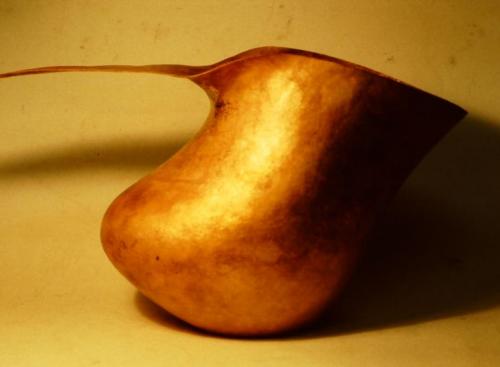
Very gradually the area under the handle is brought in.
An early attempt to shape a trough-like handle, but this hindered moving in the area of tightest curve under the handle.
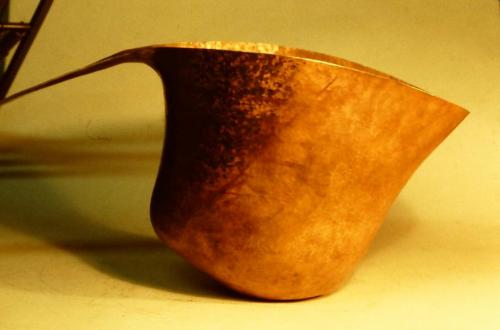
The final contour under the handle. The shiny metal in the tightest area of curve shows where the metal has been carefully hammered.
Now the trough-like shape of the handle is established, and the front area below the spout is being raised up and in.
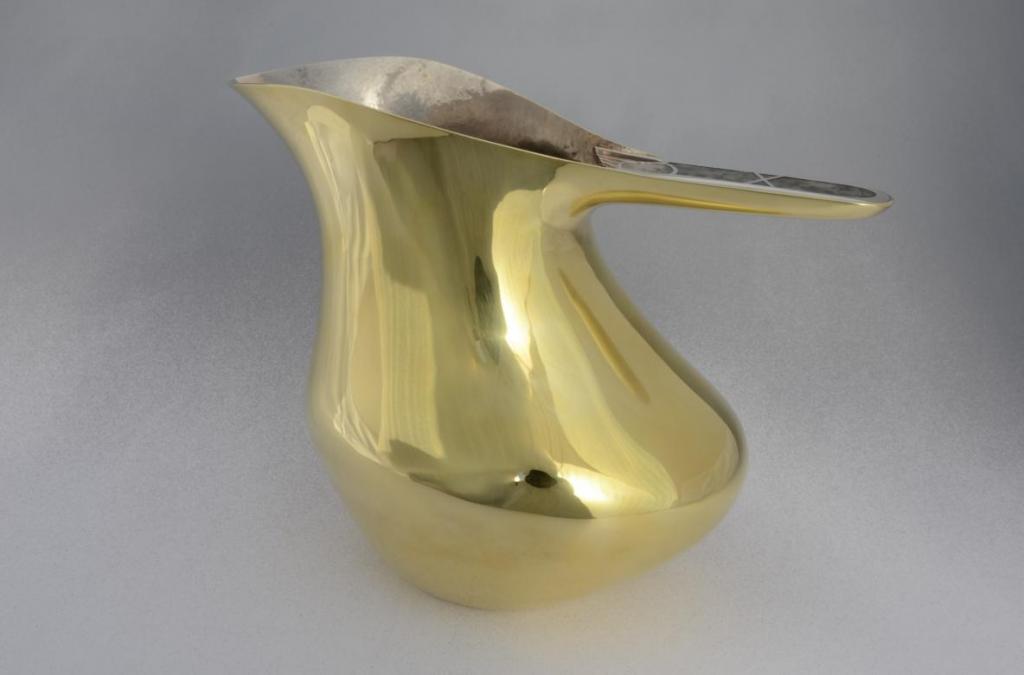
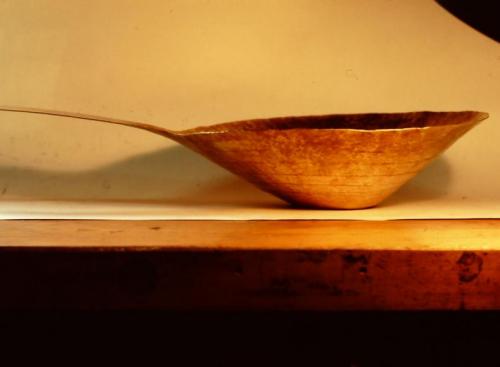
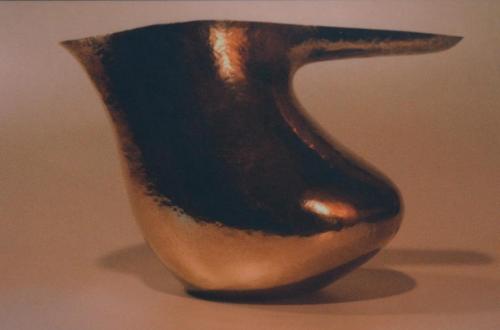
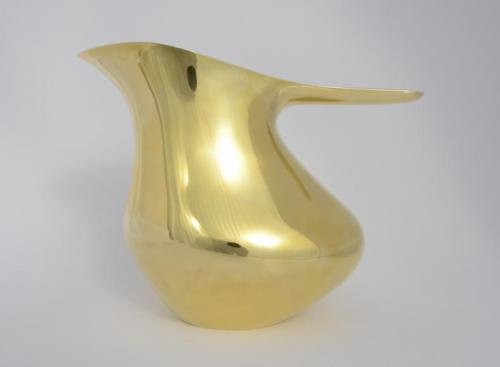
The finished piece showing how much more the front area is brought in and raised higher. The entire piece is planished smooth using nearly flat-faced hammers — the metal is literally "ironed" between conforming steel surfaces. The planished piece is now work-hardened and very strong. The entire surface is filed and polished to a mirror-like shine.
Viewed from above when the trough-like handle still needed to be narrowed.
The finished handle with a "landscape" built up of layers of sterling sheet and set with 7 moss agates. The entire sterling unit is secured both by being riveted to the brass handle below and by being bezel-set along its edges.