
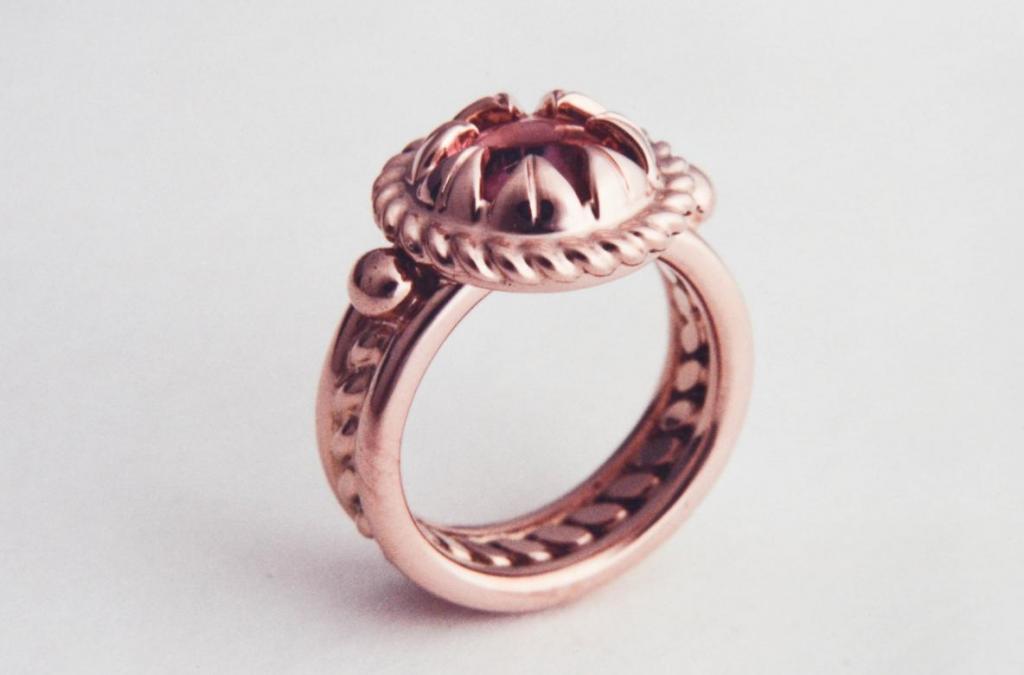
Red Gold Ring with Tourmaline
The colours of the red gold and the pink tourmaline in this ring compliment one another beautifully (the back of the stone-setting is open and even lets one's finger colour show through).
The stone is set indirectly by way of rivets. The leaf pattern conforms perfectly to the top surface of the stone and the blind rivets (between the leaves and the rope-like twisted wire) are tightened down to hold the stone in place.
This is one of the few pieces I have ever made entirely in red gold.
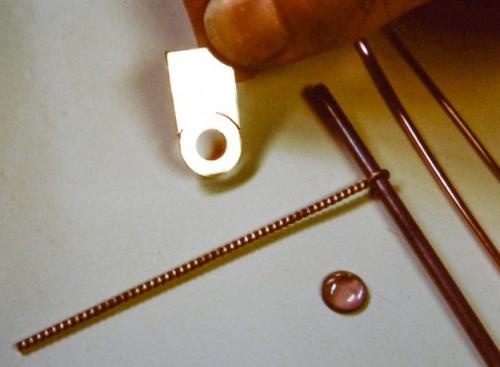
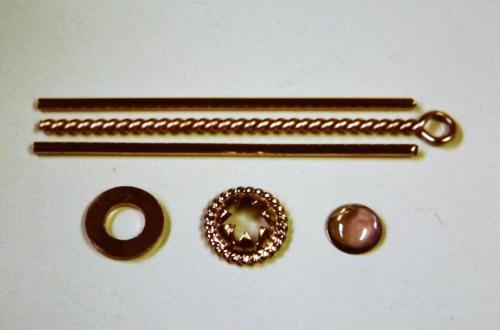
The raw materials — 14 k. red gold (with the table for the stone partly cut out), a rope-like twisted wire, and the cabachon-cut tourmaline.
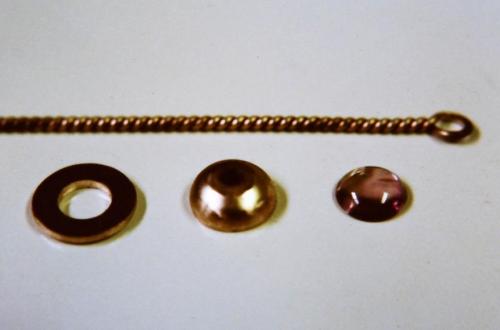
From left to right: the table for the stone (with hole), the domed disc (formed in a steel dapping block with hemispherical shaped depressions) that will become the leaves, the pink tourmaline and, behind these, the twisted wire.
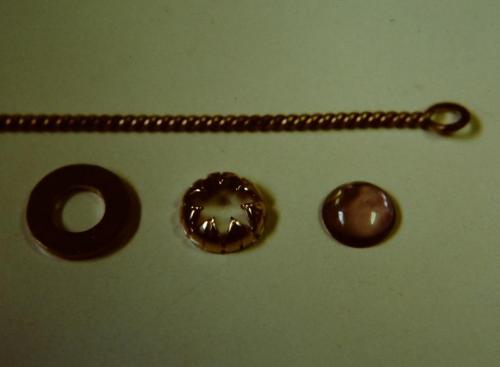
The domed disc (center) has now been cut and carved to look like 7 leaves or petals.
A smaller twisted wire has been made, joined into a circle, and is now soldered around the dome of leaves. Two straight red gold wires are shown with the larger twisted wire — these will be combined to make the ring shank.
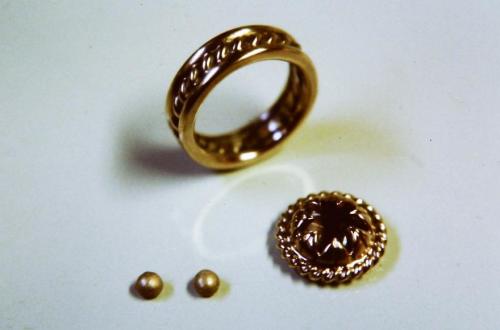
The three strands of wire (two straight and one twisted) are bound together with fine steel wire to be soldered together. The contacting surfaces between the wires have been filed slightly flat.
The ring shank is soldered together and joined. The leaves and table and stone are seen nested together. Two decorative spheres have been formed by melting scraps of red gold such that they bead up into balls.
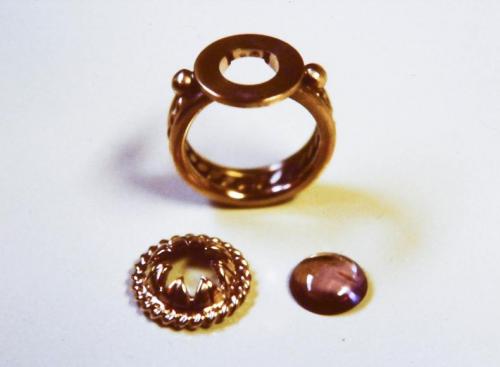
The table and the decorative spheres are soldered to the ring shank.
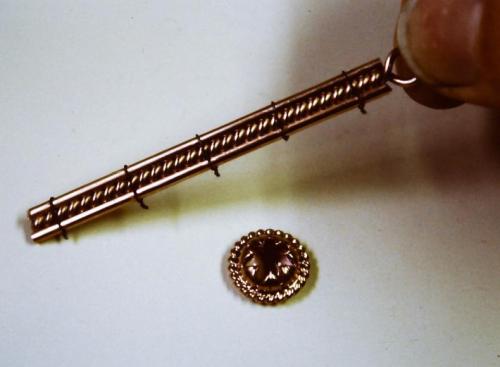
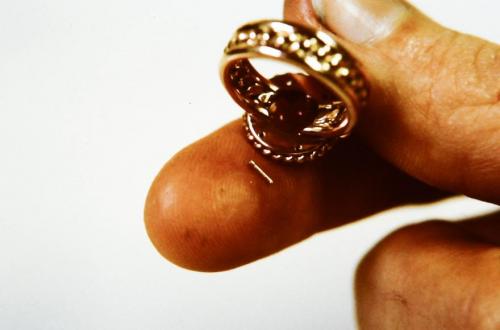
The underside of the leaves and circle of twisted wire is shaped to precisely fit over the table at the same time as it holds the stone down to the table. Then, four small rivet holes are drilled
(three of these can be seen) and four little rivet wires are made (one of these is seen on my finger tip). The entire piece is pre-polished and the four rivets are set, locking together the entire assembly.
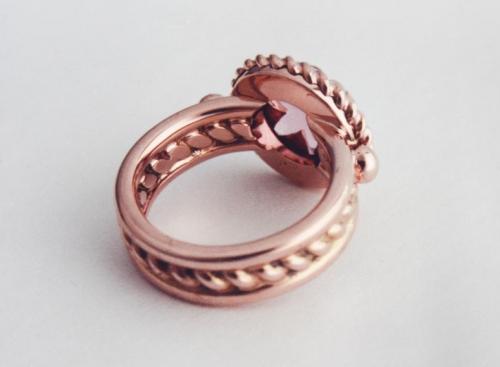
The finished piece as seen from below (one of the rivet heads that did not quite fill its tapered rivet hole can be seen toward the upper right).