
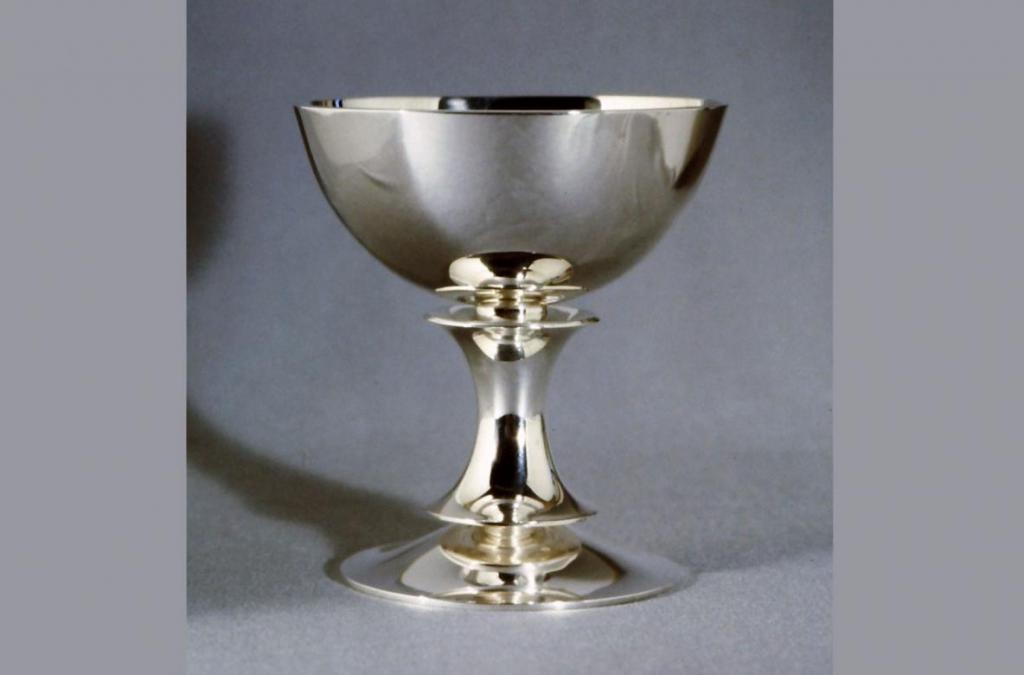
Chalice
The Chalice is a student piece. At the time, in 1980, the price of silver had soared to $50 an ounce. My high school art teacher, Mr. Arthur Brecken (who began me in silversmithing) sent me his 30 year's worth of silver scrap to reclaim, and then gave me one third of it to use. The Chalice was made from this metal.
The beauty of working with metal directly from the ingot is that a substantial thickness can be retained in the finished piece. This gives both visual and physical weight — indeed, the Chalice weighs 16 ounces.
In 1981 the Chalice won the annual Silver Design Competition, a student competition sponsored by the Silversmith's Guild of America, and this led directly to my being employed as a commercial silver designer.
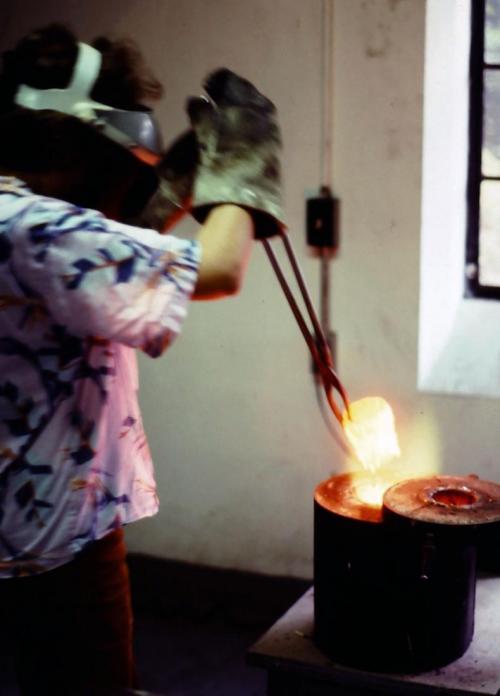
Removing a crucible of molten silver from the blast furnace.
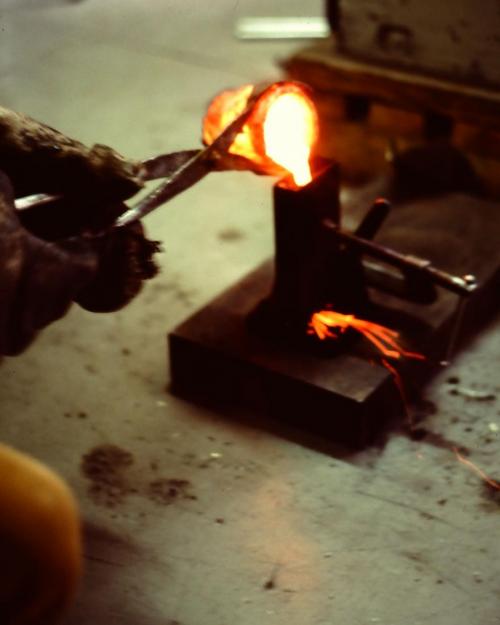
Pouring the molten silver into an ingot mold.
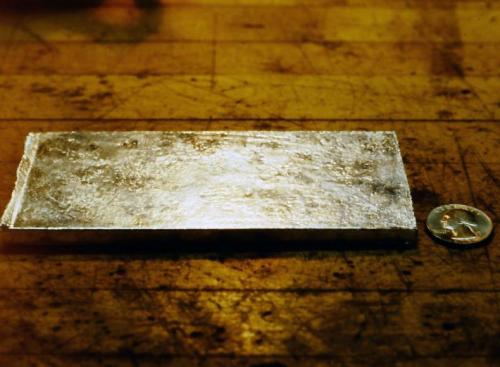
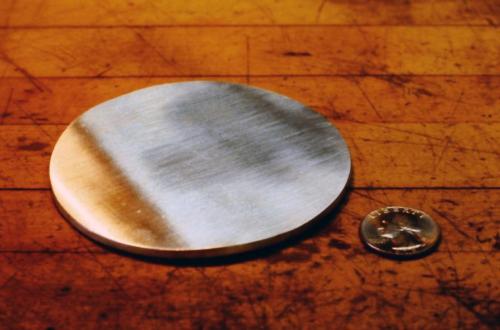
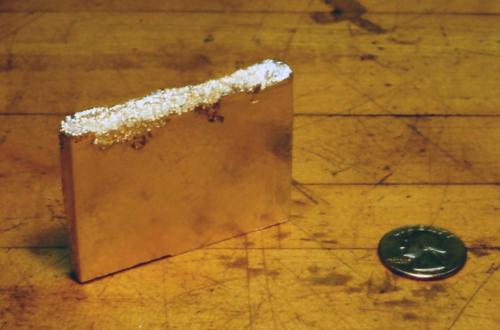
The silver ingot. All of the metal in the Chalice is smithed from this ingot.
A portion of the ingot is rolled to a 1/8" thickness and cut to a 3" diameter disc.
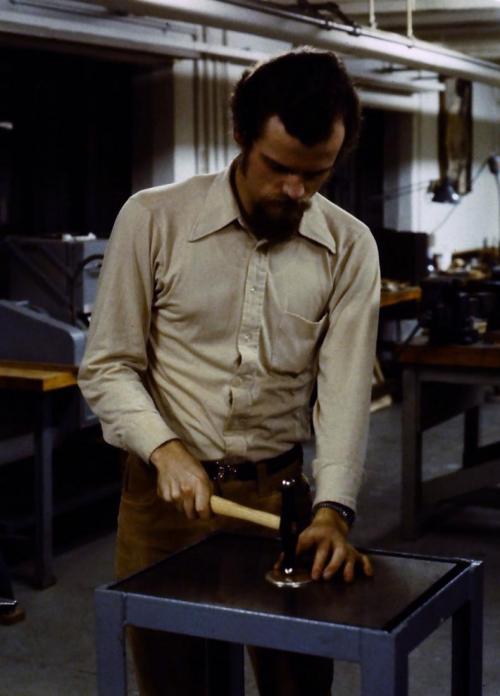
The process used to smith the Chalice bowl is called "sinking." It differs from "raising" in that the hammering is done on the inner surface of the bowl against a flat steel surface, and the shape of the hammer-head used is spherical. "Sinking" a bowl is the composite result of repeated courses of dimpling the surface.
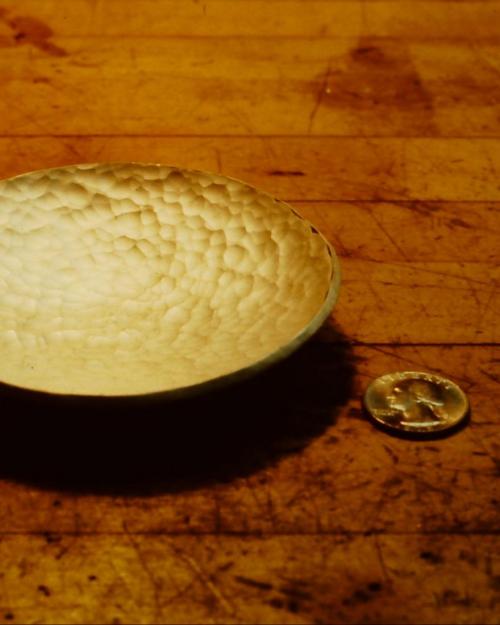
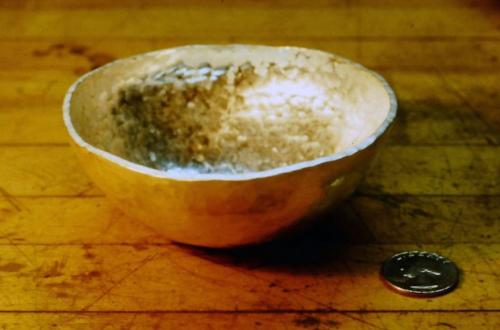
After 4 courses of sinking, annealing (heating to a dull-red, then cooling) between each course.
After 9 courses of sinking and annealing.
After 13 courses.
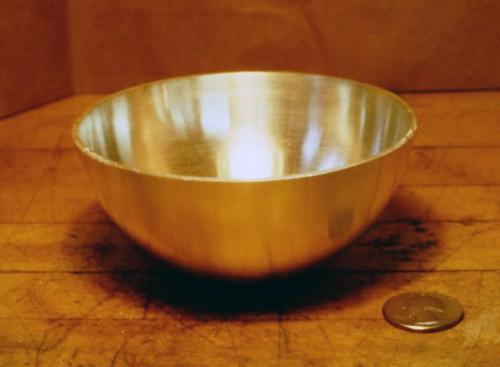
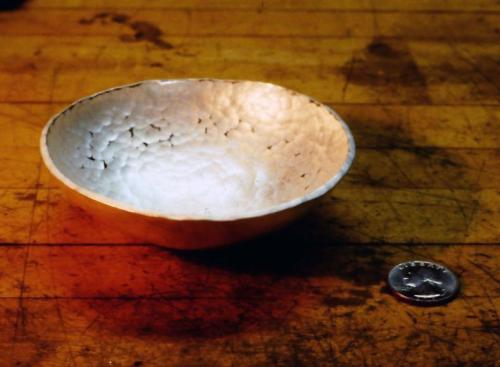
The finished bowl, planished, filed smooth and partly polished.
Remainder of the original ingot.

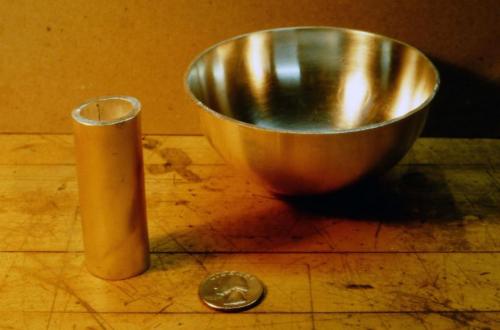
This part of the ingot is also rolled to a 1/8" thickness. The process of bending it into a cylinder is underway.
The cylinder is precisely joined and soldered with high temperature hard silver solder.
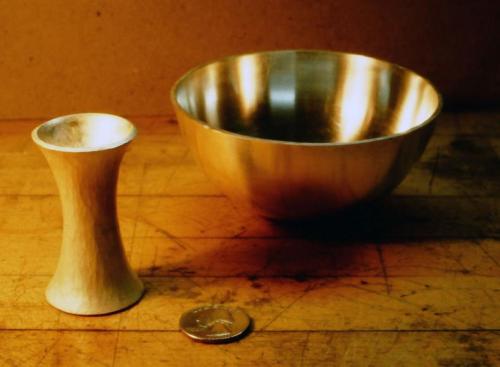
Swaging and flaring the stem. The cylinder is cradled in a steel stake with U-shaped troughs of varying sizes. The size of trough chosen is as close as possible to the diameter of the cylinder. In a process called "swaging," the middle area of the cylinder is hammered with a cross-peen hammer (the oval hammer shape being parallel to the length of the cylinder). As the cylinder becomes reduced in diameter its wall-thickness increases considerably. The two ends are flared by being smithed with a mechanical advantage
gained (ie: the inside end of the flare contacts a stake while, just below that contact, the outer surface is smithed with the cross-peen hammer shape perpendicular to the cylinder).
The flared stem, planished, filed smooth and partly polished. All cuttings and filings left over from having created the bowl and stem are re-melted and poured to create another small ingot.
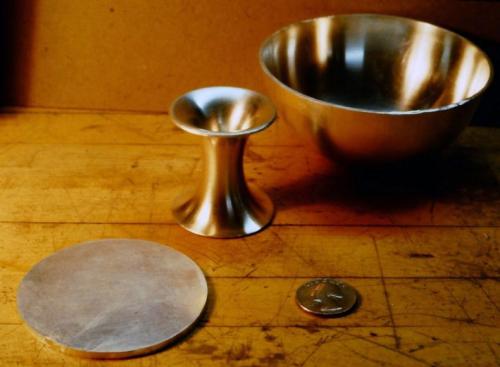
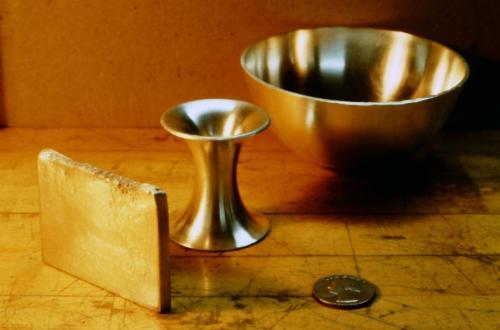
The new ingot is rolled to a 1/8" thickness and a disc is cut out.
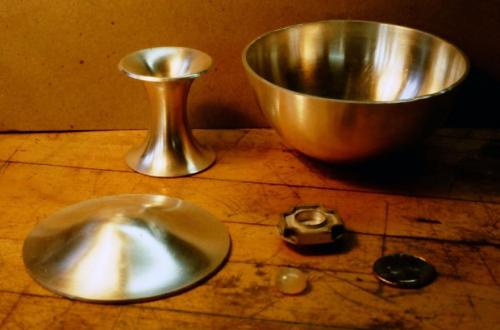
A base is smithed from the disc using the "raising" process, and it is planished, filed smooth and partly polished. Also seen is a nearly completed cross-shaped decorative nut which will be set with a cabochon moonstone.
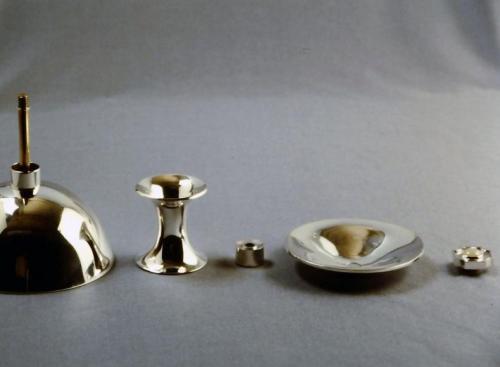
The finished Chalice disassembled. A threaded brass rod is soldered to the bottom of the bowl, and a sterling spacer is also soldered there. The flared stem will appear to hover in the design between this spacer and another spacer. The base fits on next, and the entire assembly is tightened together with a decorative threaded nut. All the surfaces have been given a mirror-like shine.
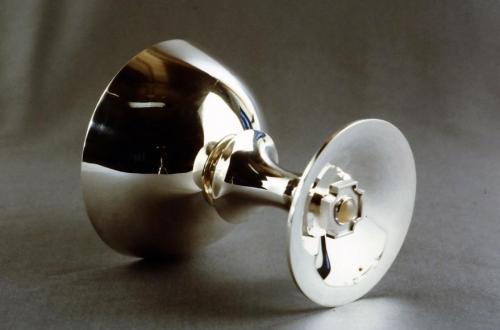
The finished Chalice seen from below showing the decorative nut holding the piece together.